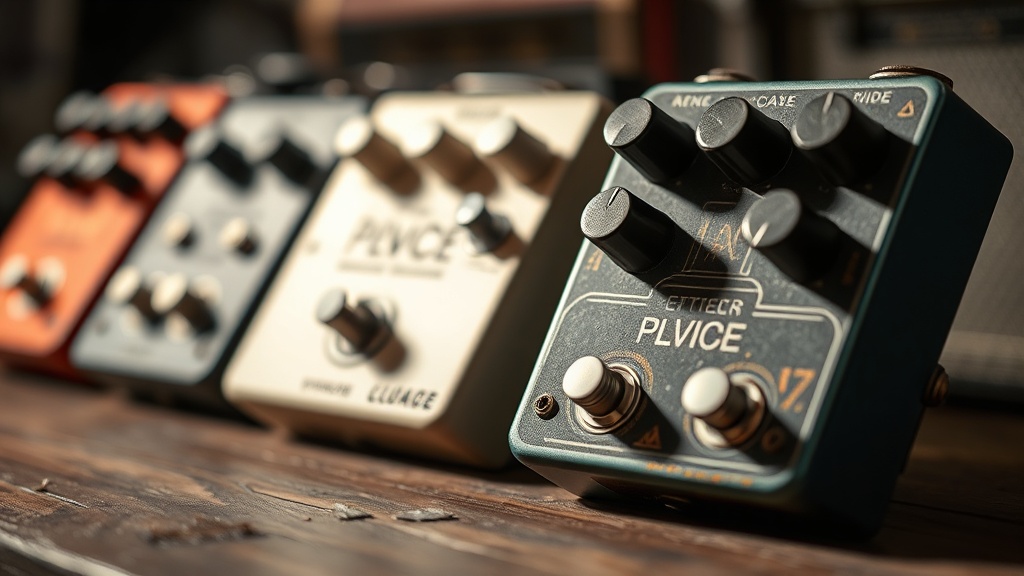
Preserving Your Vintage Guitar Pedals from Corrosion

You pull your favorite 1970s MXR Phase 90 out of the box, plug it in, and realize the signal is crackling or cutting out entirely. You unscrew the chassis and see a fine layer of white crust or green oxidation on the circuit board and pot shafts. This is corrosion. It's a silent killer for vintage gear, often caused by humidity, battery leakage, or even just the natural aging of internal components. This post explains how to identify, prevent, and treat corrosion to keep your pedal collection in top shape.
How Do I Identify Corrosion in a Guitar Pedal?
Corrosion in a guitar pedal typically manifests as visible oxidation on metal parts, crusty residue around battery compartments, or an intermittent signal caused by dirty potentiometers. If you see a white, powdery substance near where a battery once sat, that's a major red flag. It's often the result of alkaline battery leakage—a common culprit for many collectors.
Look closely at these specific areas:
- The Potentiometers: If the knob feels "crunchy" or makes a scratchy noise when turned, the internal contact surfaces are likely oxidizing.
- The Battery Compartment: Look for white or blue-green crystals. This is the direct result of chemical leakage from old batteries.
- The Input/Output Jacks: If the metal ring around the jack looks dull or has a dark coating, it can cause poor connectivity.
- The PCB (Printed Circuit Board): If you see green or black spots on the board itself, the copper traces are reacting to moisture in the air.
Sometimes, the damage isn't even visible to the naked eye. You might just notice a loss of high-end frequencies or a signal that drops out when you move the cable. This is often a sign of a failing capacitor or a dirty switch. It’s frustrating, but catching it early can save a vintage piece from becoming a total loss.
What Causes Metal Parts to Corrode?
The primary causes of corrosion in musical electronics are moisture, battery leakage, and atmospheric pollutants. High humidity levels in a room or storage space can trigger oxidation on exposed metal, while the chemical discharge from a leaking Duracell or Energizer battery is far more aggressive and destructive.
Environmental factors play a huge role. If you keep your pedals in a basement or a damp studio, you're inviting trouble. Moisture in the air reacts with the metals in the circuit. This is why many collectors use silica gel packets in their storage cases. It’s a cheap way to control the micro-environment around your gear.
Airborne contaminants also matter. If you live in an area with high salt content near the ocean, or if your studio is near a heavy-traffic road, the air itself can be slightly more corrosive. This is a real issue for collectors of high-end boutique pedals where the metal enclosures and internal components are often highly-tuned and sensitive.
The following table shows the common types of corrosion and their typical sources:
| Type of Corrosion | Common Source | Visible Sign |
|---|---|---|
| Alkaline Leakage | Old/Expired Batteries | White, crusty powder |
| Oxidation | High Humidity/Moisture | Dull, dark metal surfaces |
| Verdigris | Copper/Brass reaction | Greenish-blue buildup |
| Contact Oxidation | Frequent plugging/unplugging | Intermittent signal/noise |
How Do I Clean a Dirty Pedal Potentiometer?
To clean a dirty potentiometer, use a specialized contact cleaner like DeoxIT D5 to spray a small amount into the component and then rotate the knob repeatedly to distribute the cleaner. This process removes the oxidation layer without damaging the delicate internal components.
Don't just spray and hope for the best. You need a methodical approach. First, ensure the power is completely disconnected—remove the batteries and the power supply. If you're dealing with a vintage pedal, you might need to open the chassis to reach the actual pot. Most modern pedals use surface-mount components, but vintage units usually have much more accessible parts.
Here is the standard procedure for cleaning a pedal:
- Open the Chassis: Use a precision screwdriver to remove the screws holding the pedal together.
- Inspect the Board: Look for any signs of "leaking" components or dark spots on the PCB.
- Apply Contact Cleaner: For pots, spray a tiny amount into the opening. For jacks, spray a bit onto a cotton swab or directly into the jack opening.
- Work the Part: Turn the knob or plug/unplug a patch cable several times. This mechanical action helps the liquid break up the oxidation.
- Dry and Reassemble: Let it dry for a few minutes before closing it back up.
A word of caution: be extremely careful with high-end boutique pedals. Some modern manufacturers use specific types of coatings that might react poorly to certain solvents. If you're working on something truly precious, check the manufacturer's documentation or consult a professional technician. If you've ever had to deal with sensitive media before, like cleaning vintage cassette tapes, you know that a light touch is everything.
How Should I Store My Vintage Pedals Long-Term?
Long-term storage for vintage pedals should involve a dry, temperature-controlled environment with low humidity and the removal of all power sources. Storing pedals in hard cases with silica gel packets is one of the most effective ways to prevent moisture-related damage.
First and foremost, never store a pedal with a battery inside. This is the single most common way collectors ruin their gear. Even "leak-proof" batteries can fail over time, and the resulting alkaline mess can eat through a circuit board in a matter of weeks. If you aren't going to use a pedal for a month, take the battery out. Period.
Temperature control is the next big thing. Extreme heat can cause components to expand and contract, which puts stress on solder joints. Extreme cold can lead to condensation when the temperature rises. Aim for a stable, room-temperature environment. A dedicated storage cabinet or a flight case is much better than leaving them on a shelf in a garage or an uninsulated attic.
Humidity control is where you can really make a difference. You can find information on the effects of humidity on materials through various scientific resources, but for a collector, the practical application is simple: use a dehumidifier or silica gel. If you keep your gear in a hard shell case, toss a few desiccant packs inside. It keeps the air inside the case much drier than the air in the room.
If you are a collector of various types of media, you likely already have a storage system in place. For instance, if you know how to properly store vinyl records to prevent warping, you'll find the same principles of temperature and environmental stability apply to your electronics. Consistency is your best friend.
Check your pedalboard regularly. Don't wait for a year to see if things are still working. A quick inspection every few months will let you catch a small bit of oxidation before it turns into a permanent piece of damage. A little bit of maintenance goes a long way in preserving the value and the sound of your collection.
Steps
- 1
Inspect Potentiometers and Jacks
- 2
Apply Contact Cleaner Carefully
- 3
Control Humidity and Airflow
- 4
Apply Protective Coatings